Weaving Inspiration: Mirrix Pet Collar Cover
By: Sandy and Holly
Modeled by: Cookie
By: Sandy and Holly
Modeled by: Cookie


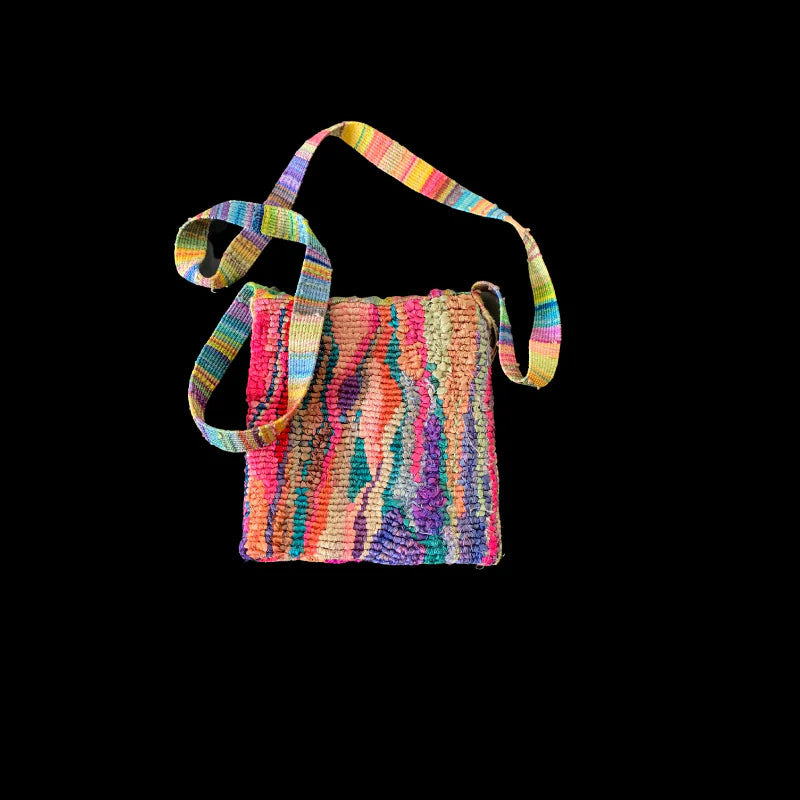
This is an idea that my co-worker Holly and I have come up with one morning during one of our chat/idea talks. We both love animals and our work building has at least 3 dogs in it every day. So naturally this collar was designed for dogs but can be made for cats also. It can be as difficult as using the pets name or as easy as just blending colors while weaving. The size of the project depends on the size of the pet and the size of the collar or leash you use. But a backing is necessary as it is slipped onto a collar or leash.
Tools:
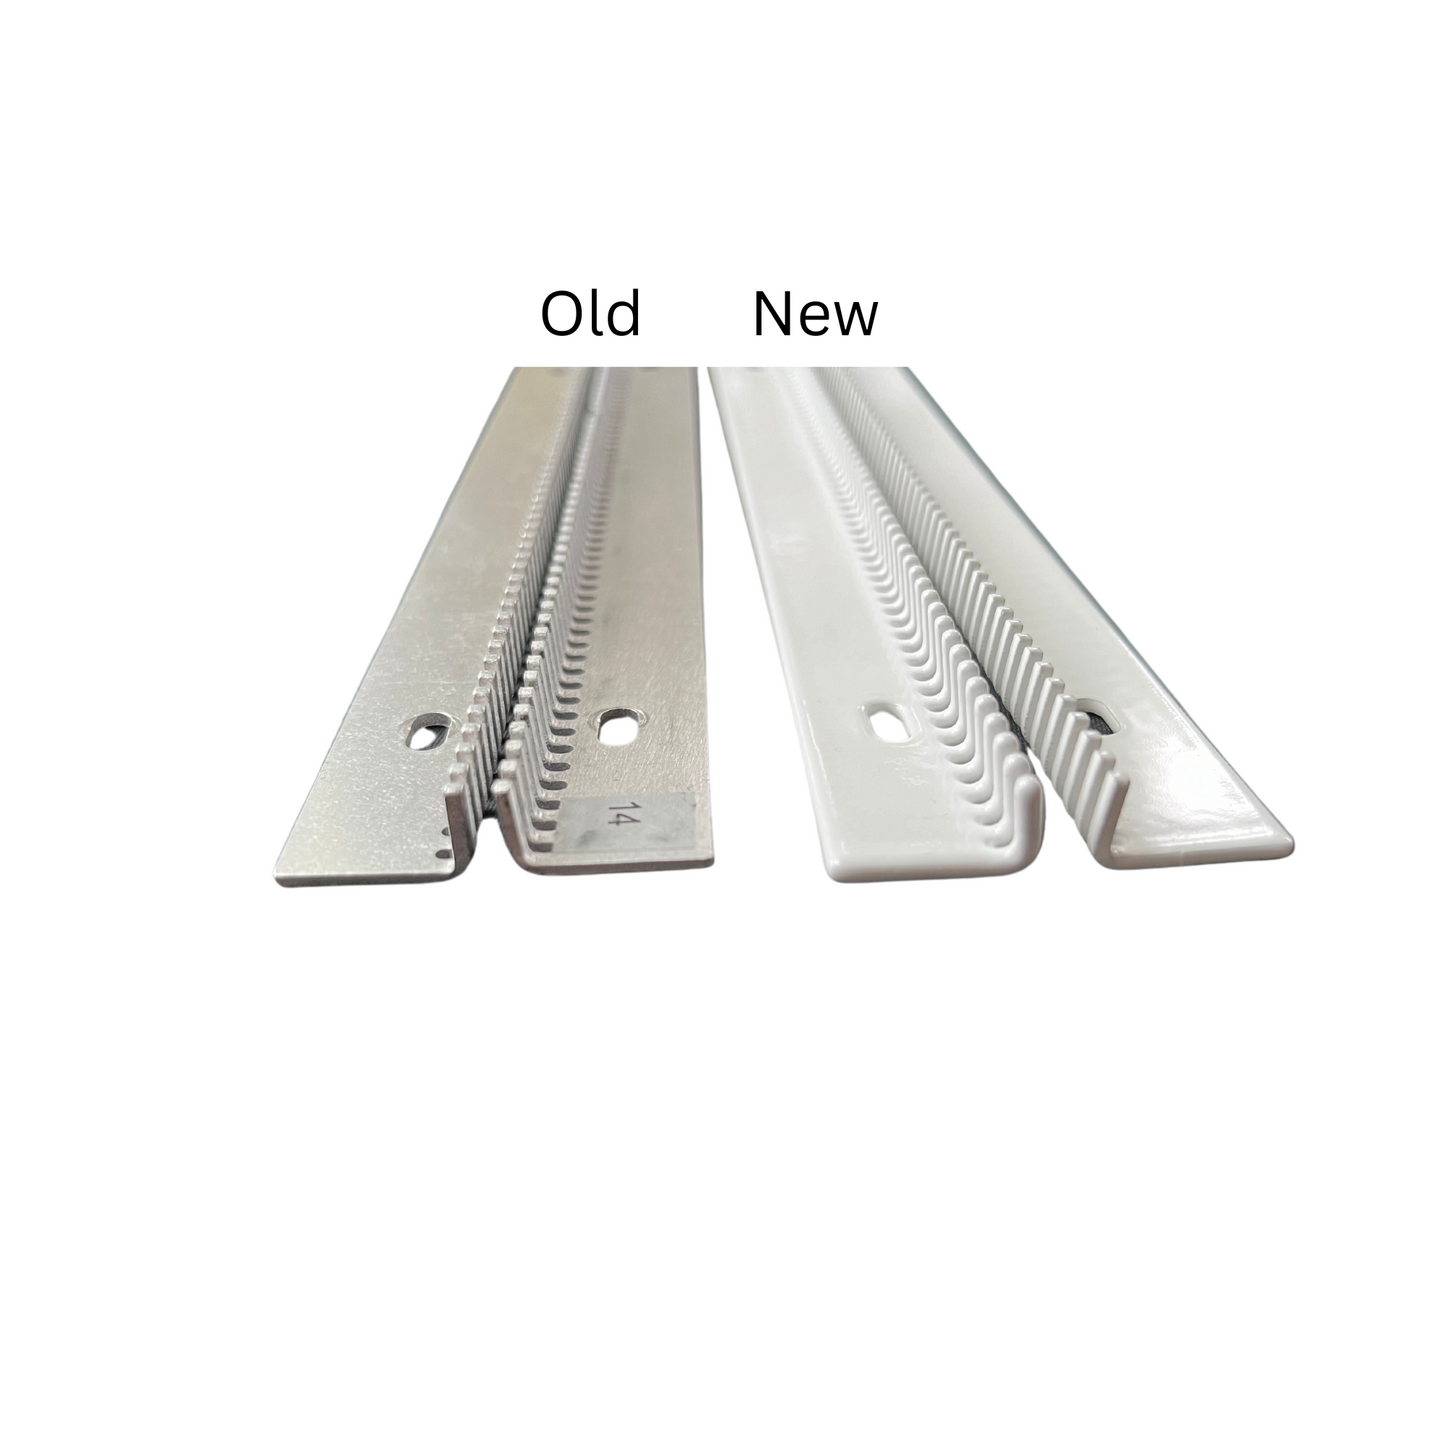
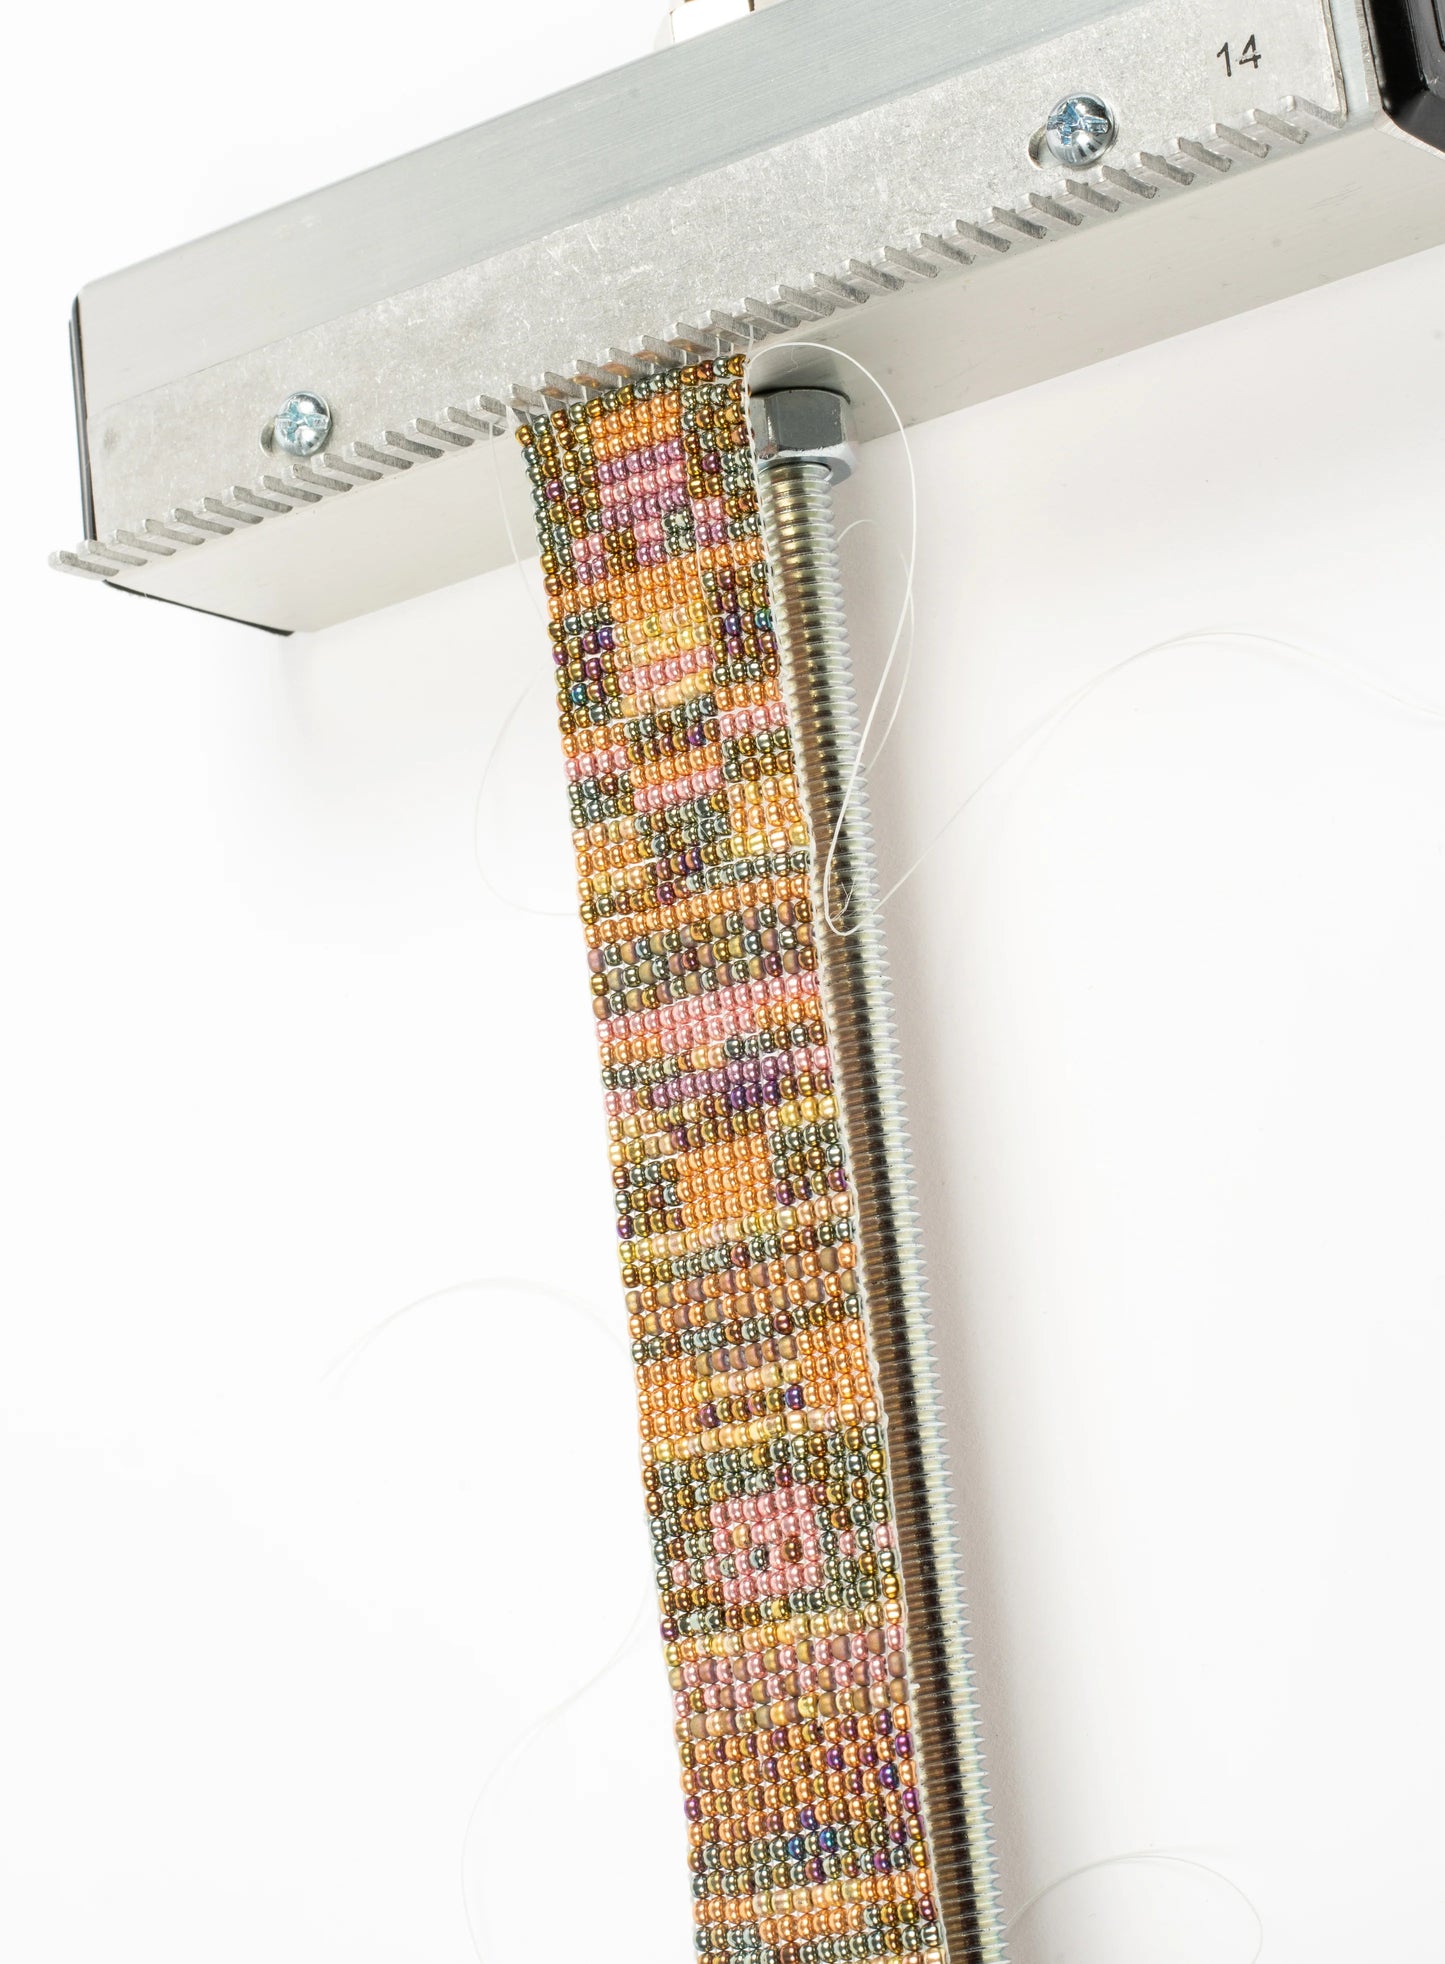
-A Mirrix Loom. This piece can be made on any Mirrix Loom. We made these on a 12" Little Guy Loom with or without a shedding device. If you use a shedding device, you will need heddles. We used a fourteen fourteen-dent warp coil but a similar piece could be woven at 10 epi.
Materials:
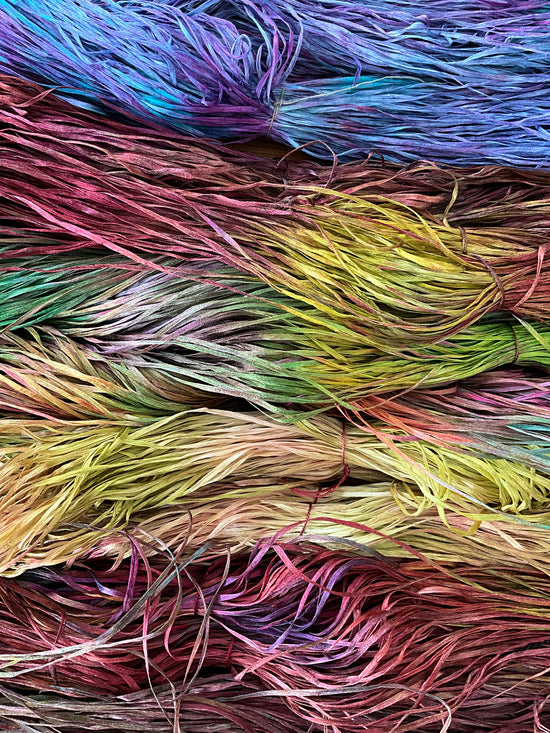
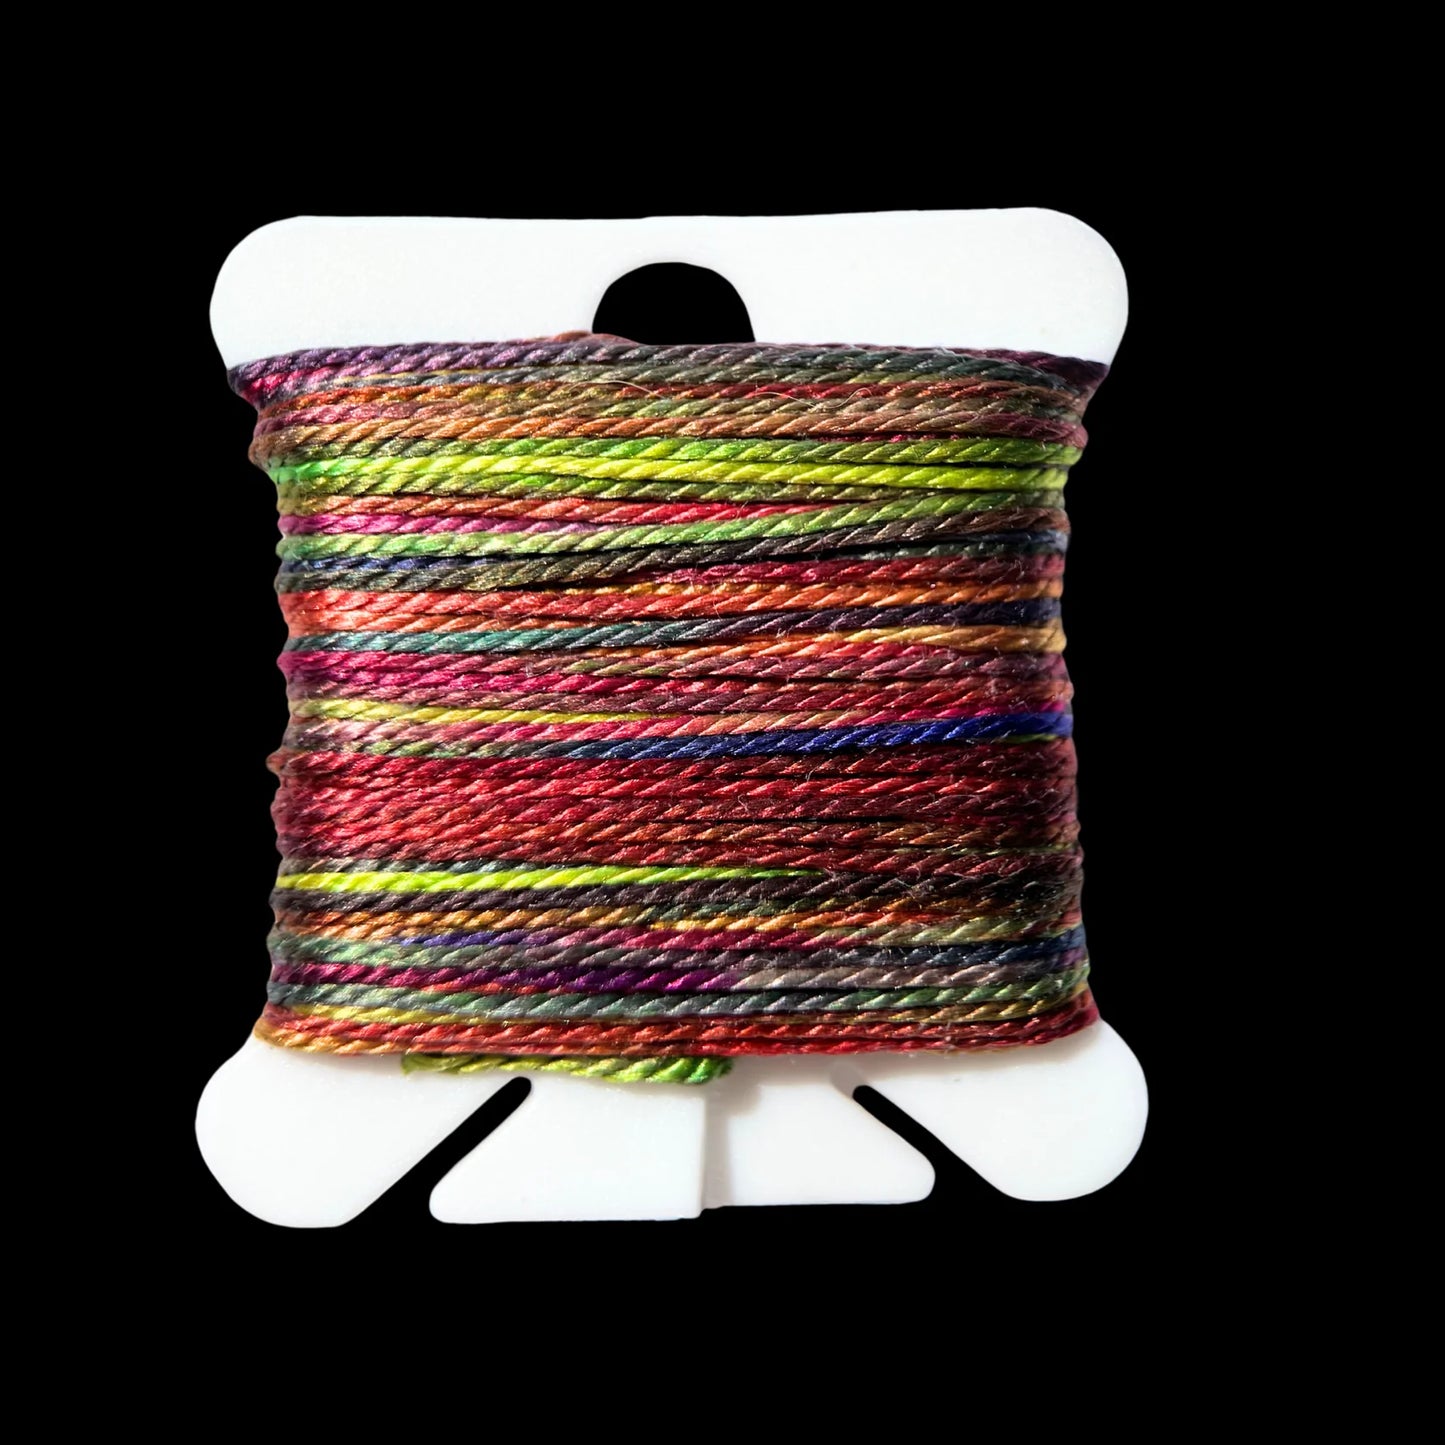
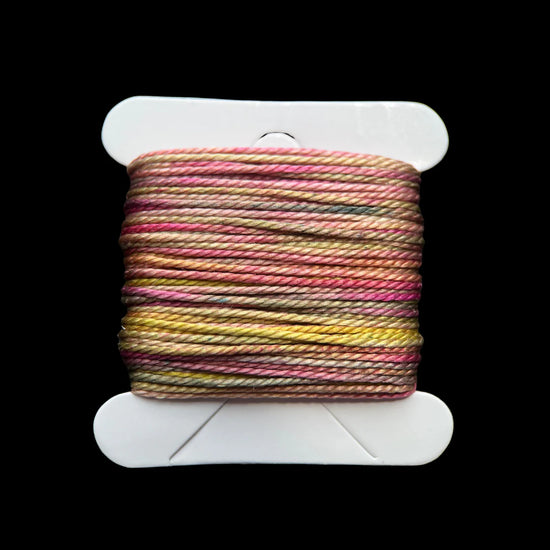
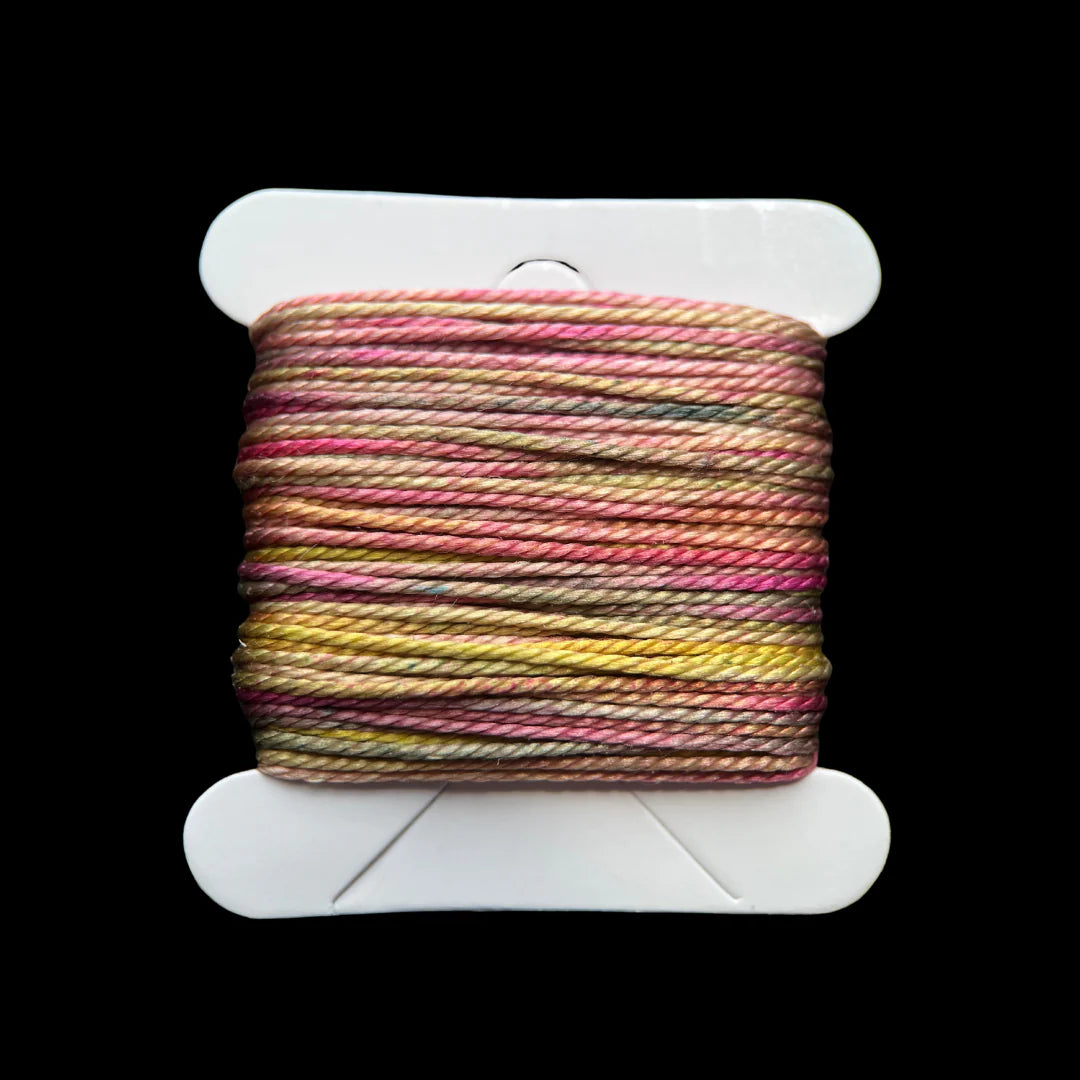
-Two or three Silk bobbins. We used numbers 9, 29, and 30.
-The Faro Collection (at least three bobbins, depending on the size of the collar you want to make.)
-Ultra suede for backing.
-C-lon fine cord or Seine Twine for warp
-Tapestry needle
-A good pair of scissors. We are obsessed with these.
-A sewing needle and thread for sewing
Before you warp your loom measure your collar or leash at its wides point, then add a half an inch. The widest point on my collar was the buckle. It measured 1 inch so I warped my loom to measure 1.5 inches. Once warping is completed, I wove silk to about 1.5 inches before starting the lettering. This also depends on what size your dog you have. For a smaller dog you might only want to weave an inch of silk before starting the lettering. Or you might want to cover the whole collar with this sleeve, then you will just center where to put the lettering. This is where graph paper will come in handy. I simply draw the letters in a block formation. You can use black faro or black silk or any color for the name. For Cookie, I used black but for Quincy I used multiple colors of Faro wool.


***Tip: I used a few binder clips to hold the ultra suede to the woven piece while sewing on the backing. I just used a needle and thread.
We hope you enjoyed this project and please share photos of your pets with us.