There are lots of ways to start and finish a tapestry. Some people just jump in and start weaving the weft. You can weave a header and footer to start and end your tapestry. Or you can include Soumak knotting at the beginning of the header and the end of the footer. The Soumak knotting keeps the header in place when you remove the piece from the loom. The main reason for weaving a header and footer is to turn them to the back when you are finished.
Definitions:
Soumak knotting: A technique that requires you wrap around the warps. You can wrap around one, two or three warps or more. We will be doing Single Soumak, which means you wrap around one wrap at a time.
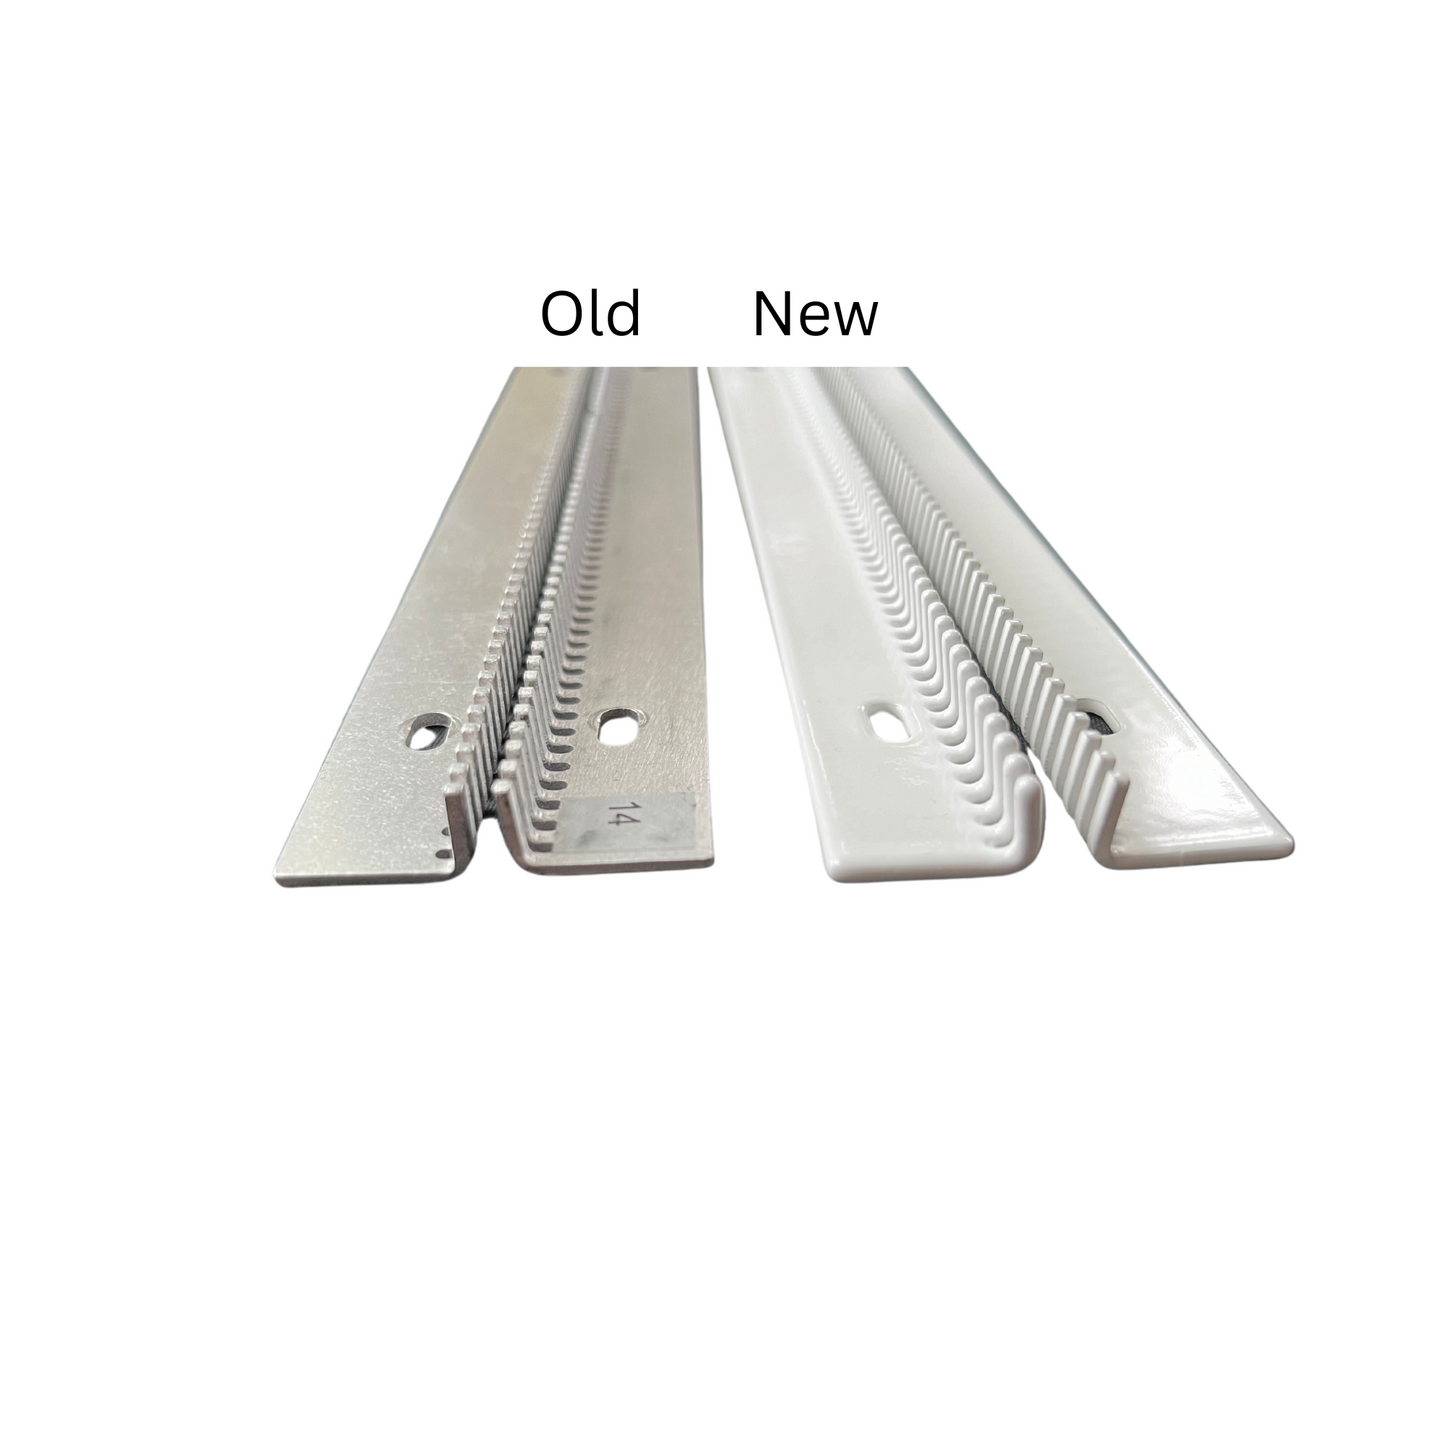
Header: Most tapestries start with a few rows of warp material. Usually this is folded to the back.
Footer: This is what is used to finish a tapestry. It is just like the header but happens at the end of the pice.
Bubbling: By making a hill when inserting your weft and pressing it down in a few places you will prevent pull in. Your selvedges will pull when you change the shed because by changing the shed the weft curves around the warps. If you weave a straight line, the extra weft will be borrowed from your selvedges. Hence pulling in!
Plain Weave: Weaving under and over each warp.
Full pass: Weaving back and forth once.
Half pass: Weaving in just one direction.
Starting a Tapestry with Soumak Knotting
Soumak knotting is the perfect technique for beginning a tapestry. One row of single Soumak will keep your header from coming undone as it has a desire to do when you remove your tapestry from the loom. You will start with the Soumak knotting and then weave the header.
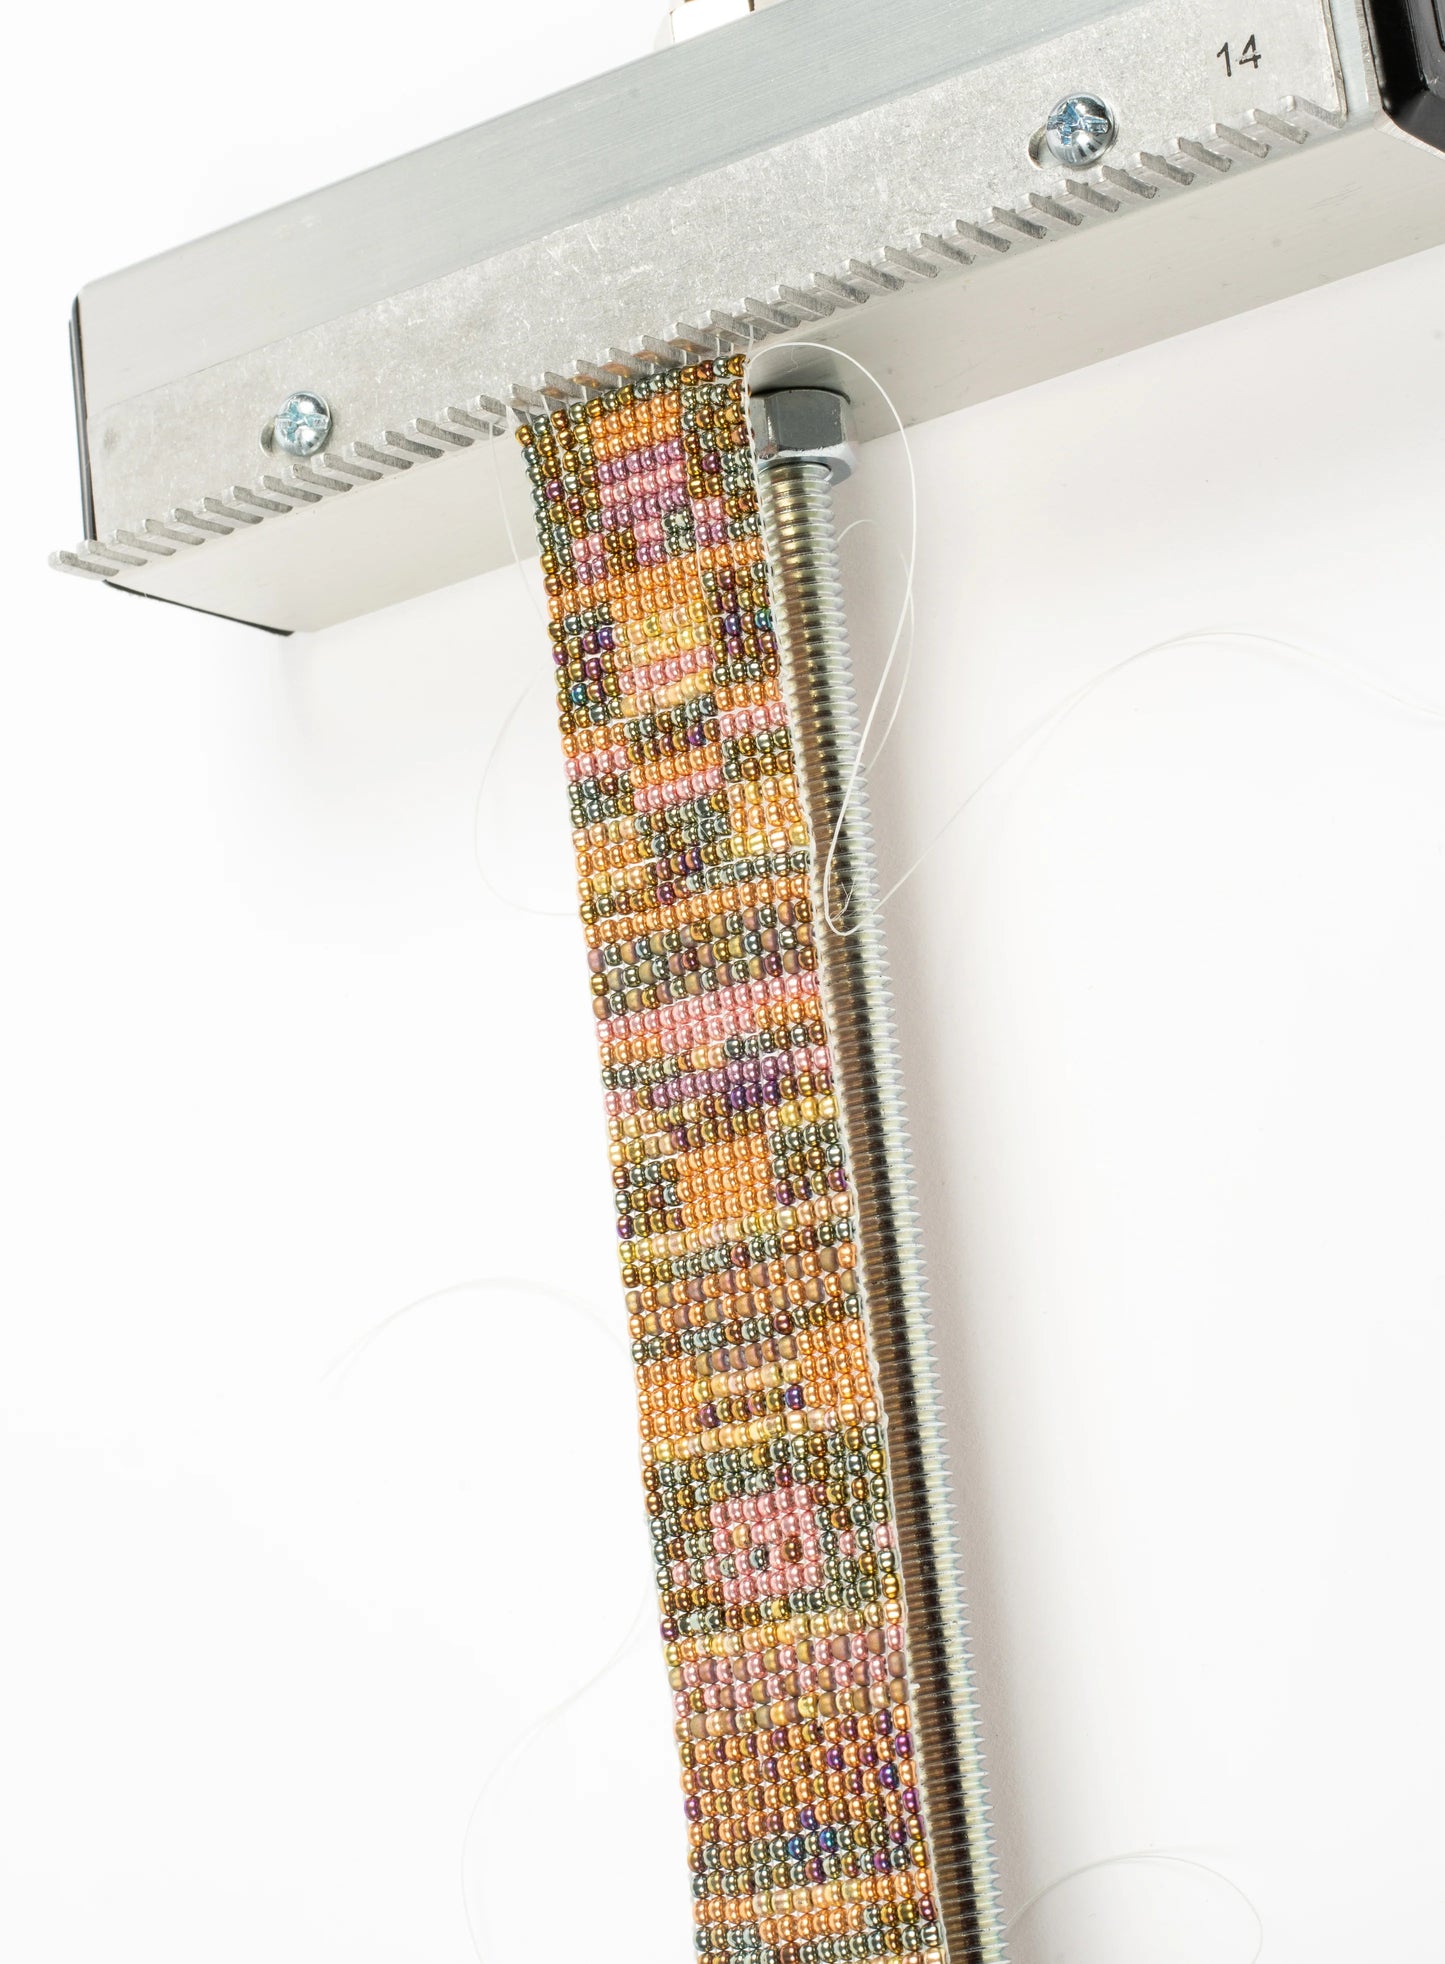
Starting on the left, put the tail of the warp material under the selvedge warp.

Take the working end of the warp material and pass it under warp one and two coming to the front between warp two and three.

Wrap around the second warp going to the left. Bring to the front between warps three and four. Continue this pattern until you reach the right selvedge.

Weaving the Header
Continuing with the same thread weave a row of it to the left. Make a hill. Wait for it . . .

Push the hill down in a few spots.

You can build up a few rows before you beat it or you can beat every row. Weave five full passes of warp material.

Weaving the Footer
Once you have finished your weaving, you will start the footer with five rows of plain weave, once again using the warp material..

Take your warp material under warp one and two. Weave five full passes of warp material. Next you will doing a single row of Soumak knotting.

Heading to the left, wrap around warp two and bring the warp material to the front of the piece between warps two and three.

Continue this pattern.
End the Soumack knotting when you reach the right selvedge.

Now you are ready to cut your piece off the loom.